📌 Introduction to the scientific experiment: starting a fire with a magnifying glass
The experiment of producing fire with a magnifying glass, sometimes also called a fire lens, amazes both science enthusiasts and the curious in search of practical discoveries. This process, which dates back to antiquity, uses the power of concentrated sunlight through a lens to initiate combustion. This seemingly simple experiment nevertheless requires a fine understanding of light, heat, and safety for striking results.
In this article, we propose to demystify all the steps for making fire with a magnifying glass, to explore the underlying physical principles, and to guide you step-by-step through this scientific adventure, all with a didactic and safe approach. Whether you are a student, parent, teacher, or simply a fan of outdoor experiments, you will discover here a fun and instructive way to introduce young and old to the wonders of physics.
🔍 Understanding the properties of a magnifying glass
📏 Structure and function of a magnifying glass
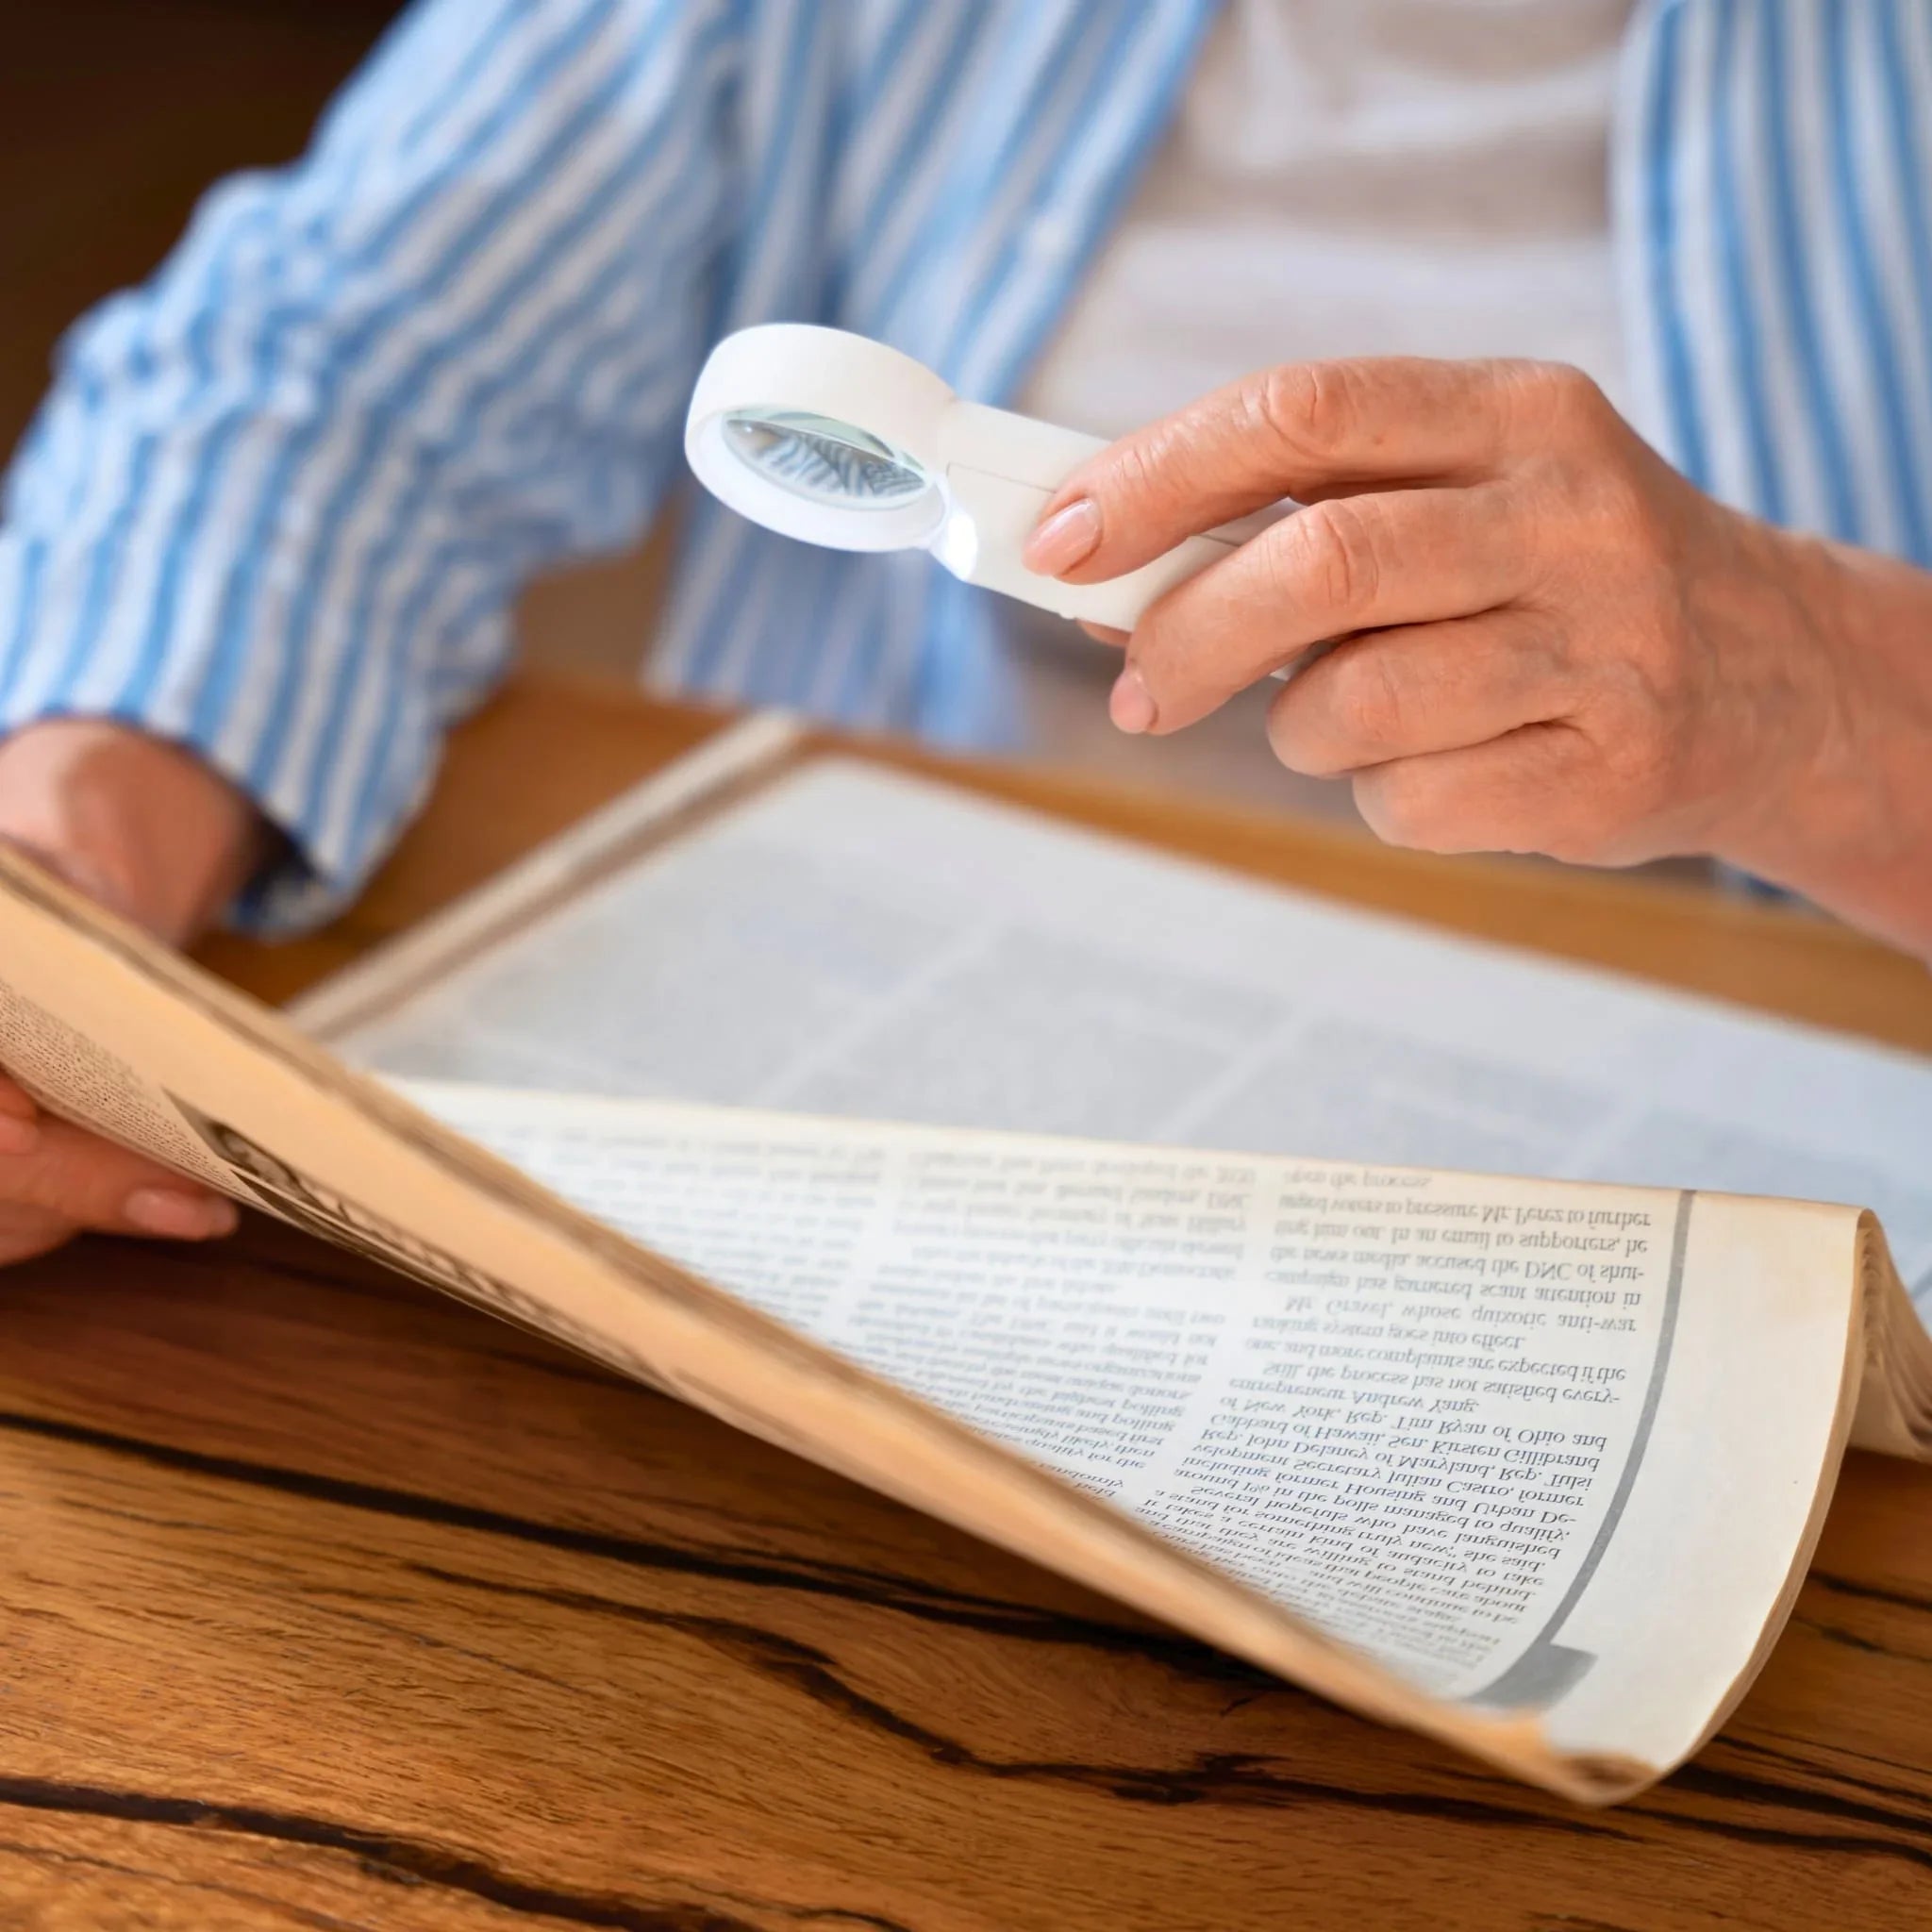
A magnifying glass is an optical instrument composed of a converging lens, usually convex (curved). Its main mission: to magnify, that is, to amplify the image of observed objects to reveal details invisible to the naked eye. But to create a fire, another fascinating capability of the magnifying glass is used: its ability to concentrate light rays at a precise point.
To understand how this works, we need to look at the lens's curvature. A quality magnifying glass has a perfectly controlled curvature, which allows it to deviate incoming light rays towards a single point called the "focal point". The material used for the lens, often mineral glass or high-quality plastic, must also allow maximum light to pass through without altering the direction of the rays.
The optical properties of the magnifying glass are therefore determined by two main elements:
- The radius of curvature: The more pronounced it is, the shorter the focal length and the higher the concentration potential.
- The refractive index of the material: This influences the lens's ability to "bend" light rays and bring them together.
This subtle interplay of light and matter is the secret to the magnifying glass's power, whether for observing insects or initiating combustion.
☀️ How a magnifying glass concentrates solar light
The effect of light concentration by a convex lens is a fascinating physical phenomenon that occurs thanks to refraction. When parallel rays of sunlight pass through the magnifying glass, it deviates them all towards its focal point. In the area where these rays converge, the light intensity becomes much greater than at the origin — to the point where it is enough to strongly heat a small surface.
Here's how it works, in detail:
- Sunlight enters the lens through its curved face.
- Each light ray changes direction as it passes from the air medium to the lens material (glass/plastic).
- The convex shape of the lens directs all of these rays to a precise point located at a characteristic distance from the lens: the focal point.
The small, very intense luminous circle you observe coming out of the magnifying glass is nothing other than the sum of solar energy over a tiny area. This explains why the phenomenon is much more impressive than with diffuse light.
This aspect is the cornerstone of any experiment involving a magnifying glass for children, both for meticulous observation and for an introduction to outdoor physics!
🌞 Science of Light and Heat
🔦 From solar radiation to thermal energy
The sun emits immense energy, a tiny part of which reaches us in the form of electromagnetic radiation, primarily visible light and infrared. Once captured by the magnifying glass, this light, concentrated at the focal point, is converted into heat upon contact with the target material.
This process relies on two principles:
- Light absorption: The material placed at the focal point receives intense energy that raises its temperature.
- Conversion of light energy: Photons (light particles) strike the surface, are absorbed, and cause increased agitation of molecules, generating heat through internal friction.
The darker and duller the material, the more it will absorb light (and therefore heat), while light or reflective objects will reflect some of the energy. This dynamic explains why it is much easier to ignite a black wool strand than a bright white paper.
When a sufficient temperature is reached, the material begins to burn, producing smoke, embers, and then flame.
🌡️ Focal point and temperature
The "focal point" designates the exact location where light rays converge after passing through the magnifying glass. The smaller this point, the more concentrated the energy, and therefore the higher the temperature.
In practice, a well-positioned magnifying glass can raise the temperature at the focal point to over 200°C, sometimes much more! This far exceeds the combustion threshold of many natural materials.
| Material | Ignition Temperature (°C) | Usage Tip |
|---|---|---|
| Paper | ~230 | Easily ignites, ideal for beginners |
| Dry wood | ~300 | Difficult, prefer shavings |
| Dead leaves | ~190 | Very favorable |
| Cotton | ~250 | Rapid effect if dark |
| Straw | ~200 | Very effective |
Several factors influence the intensity at the focal point:
- Lens quality: Transparency, absence of scratches or imperfections.
- Magnifying glass diameter: The larger it is, the more light you capture to concentrate.
- Exposure duration: Focusing must be long enough without moving.
Handled with caution, a moderately sized magnifying glass already offers excellent performance for the experiment.
🔬 Equipment needed for the experiment
🛠️ List of essential equipment
To successfully light a fire with a magnifying glass, you need to be equipped with the right materials. Here's a checklist to ensure nothing is overlooked:
- A converging magnifying glass 6 to 10 cm in diameter, with a transparent and clean convex lens. Avoid scratched or overly basic models, which are often ineffective.
- A stable support to place the magnifying glass and keep your hands free. A small tripod or natural wedges (stone, wood) can suffice.
- Protective gloves to avoid any contact with hot surfaces or accidental flames.
- Water or sand to control any unwanted fire outbreak.
- A natural windbreak (or position yourself in a sheltered spot) to prevent a breeze from dissipating heat or blowing embers.
- Tongs to move materials safely.
- An observation notebook to record your attempts, successes, and observations for each try.
To choose the best magnifying glass, prioritize models with a thick lens, a good radius of curvature, and light transmission above 90%. Magnifying glasses for scientific learning, designed for children or school, are perfect for this use (see selection here).
📦 Recommended combustible materials
Not all materials are suitable for ignition by a solar lens. Some burn easily, others require more energy or are not suitable at all. Here are some proven suggestions:
- Charred cotton lint: Extremely reactive, it ignites quickly even in low conditions.
- Dry moss, straw, or dead grass: Lightweight, dry, and very combustible.
- Crumpled newspaper: Easily absorbs light and starts burning easily.
- Very dry wood (shavings, fine sawdust): Ideal for extending the initial ignition.
- Dead leaves and birch bark: Naturally rich in oils that facilitate ignition.
Avoid varnished, chemically treated, or damp materials — they burn poorly or even produce toxic fumes. A well-chosen fuel, prepared in small, concentrated piles, maximizes your chances of success.
Tip: Place an aluminum foil sheet or a reflective surface behind the tinder bundle to enhance heat concentration.
⚙️ Detailed procedure for lighting a fire
🔍 Environmental preparation
Before starting the manipulation, it is essential to mark out the perimeter:
- Clear an area of at least 1 square meter of any unintentional flammable elements (grass, branches, uncontrolled dead leaves).
- Preferably set up on mineral soil (bare earth, gravel, stone).
- Prepare a container or bottle of water within reach.
- Provide means to quickly extinguish any accidental flame.
- Ensure adult supervision if the experiment is carried out by children.
- Check any local regulations: fire lighting, even experimental, may be prohibited during dry periods or in certain natural sites.
Environmental safety is essential to ensure that the activity remains a scientific pleasure, without unpleasant surprises.
🔎 Positioning and alignment of the magnifying glass
The focusing step is crucial. Follow this method to best concentrate the sun's rays:
- Hold the magnifying glass perpendicular to the sun's rays: the curved side facing the sun, the other side towards the fuel.
- Position the lens at a distance from the material such that the projected light circle is as small and as sharp as possible. This is where the focal point is located, and where the temperature will be highest.
- Keep the magnifying glass perfectly stable, without shaking, to avoid scattering the hot spot.
- Keep the material to be ignited dry and fixed, directly under the focal point.
A good marker: slowly move the magnifying glass up and down from the fuel. As soon as the light circle becomes tiny and very bright, stop the movement: the optimal focal point is found!
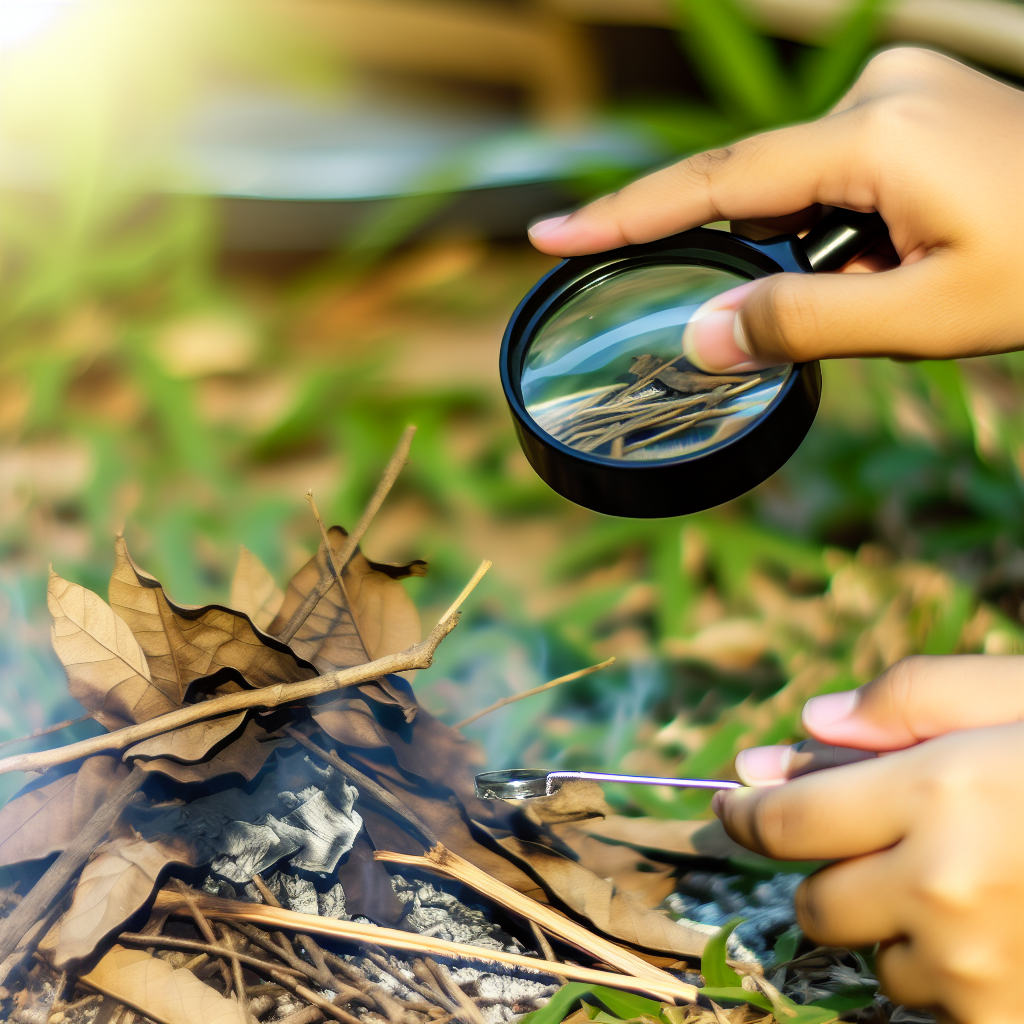
🔥 Ignition techniques
Ignition requires a bit of patience and method. Here are several approaches to try:
- For paper or cotton: Stay on the same spot for 20 to 60 seconds until a brown spot appears, followed by a thin stream of smoke. Then gently shake to encourage a spark or flame.
- For grasses/straw: Try to gather the luminous focus on the central fibers, then gently blow as soon as embers appear.
- Nest method: Create a small compact pile of fine materials, concentrate the light beam in the center, and as soon as smoke emerges, blow alternately: this provides the oxygen needed for combustion.
It may take several attempts before you get a result: perseverance and precision are your best allies!
Find other practical tips and explanations in this dedicated article.
🏆 Reflections on the success of the experiment
🎉 Success factors
Your experiment will be successful if you carefully monitor the following points:
- Weather: Full sun provides the necessary energy. Clouds, haze, or a late hour complicate ignition.
- Magnifying glass quality: The larger and purer the lens, the more effective the light concentration.
- Care in focusing: A focal point that is too wide or unstable reduces the heating effect.
- Material choice: Select a very dry, dark, and finely arranged material.
- Patience and stability: Remain perfectly still during the operation, and do not hesitate to start again to adjust the focal distance.
Some amateurs prefer to conduct their trials in the late morning, when the sun is still strong but the light is less direct than in the middle of a heatwave, ensuring more comfort.
🛑 Potential problems and solutions
Even when following all instructions, some issues can complicate the experiment:
- No combustion: Check the cleanliness of the magnifying glass, the dryness of the material, and adjust the focal distance.
- The light spot is blurry: Slowly move the magnifying glass to find the clear focus.
- Material burns without flame: Gently blow to activate the focal point, or add finer material.
- Excessive wind: Create a natural windbreak or shelter behind an obstacle.
- Presence of shadows: Orient yourself to prevent your own shadow from obscuring the action area.
By adjusting each parameter, it is rare not to achieve ignition after a few attempts.
🧠 Educational and scientific dimensions
🎓 Didactic learning
The fire magnifying glass experiment offers a remarkable integrated learning ground. It allows for:
- Discovering the refraction of light by observing the deviation of rays through a lens.
- Understanding the concept of the focal point and converging optics.
- Experimenting with the effect of colors and surface on light absorption.
- Approaching notions of change of state of matter (from solid to gas via combustion).
- Integrating safety concepts and responsibility towards fire.
This workshop stimulates observation skills, scientific rigor, problem-solving, and cooperation if conducted in a group.
Moreover, it adapts to all ages: from elementary school to high school, it offers multiple avenues for extension — calculating the sun's power, comparing materials, or mathematical modeling of focusing.
🔬 Scientific and technological applications
Understanding the principle of light concentration via a lens extends far beyond simple experimentation:
- Solar technologies: Thermal solar power plants use this principle to produce heat on a large scale, powering turbines and generating electricity.
- Optical instrument design: Binoculars, astronomical telescopes, or even camera lenses leverage light focusing.
- Medical: Medical lasers exploit light concentration for surgery or research.
- Security and signaling: Sensors and alarm systems use the focal effect to trigger precise responses to light exposure.
By experimenting with a simple magnifying glass, one touches upon physical mechanisms used in many industrial and scientific fields, materializing the transition between child's play and technological innovation.
🔒 Safety and precautions
🚨 Essential safety measures
Handling a fire magnifying glass means handling a powerful heat source. Here are the rules to be scrupulously respected:
- Never leave a magnifying glass exposed to the sun unattended, even when you are not conducting the experiment.
- Work in a clear, fully controlled area.
- Do not move the lens until the focal point has cooled down or been extinguished.
- Keep water or sand nearby for any emergency.
- Wear appropriate clothing; avoid synthetic fabrics that may melt or ignite.
- Under adult supervision for any handling by children.
Controlling fire, even experimentally, always requires vigilance and anticipation.
⚠️ Common mistakes to avoid
Here are some common pitfalls to avoid to ensure a fun, safe, and instructive experience:
- Forgetting the weather factor: Attempting the experiment under a cloudy sky limits the results.
- Choosing wet materials: Always prioritize perfectly dry combustibles.
- Leaving the magnifying glass within reach of children without adults: Even outside of experimentation, a lens forgotten in the sun is a potential danger.
- Underestimating the speed of ignition: Some materials catch fire in a few seconds.
- Conducting the experiment near uncontrolled flammable elements: Many household accidents are due to negligence on this point.
By anticipating these difficulties, you ensure an experience that is both safe and enriching.
❓ FAQ: Frequently asked questions about using fire and a magnifying glass
- What size or power should I choose for an effective fire magnifying glass?
A magnifying glass 6 to 10 cm in diameter, with a thick lens, offers excellent light concentration, more than sufficient for educational experiments. Choose a model with good light transmission. - Is it possible to start a fire on a cloudy day or in winter?
It is difficult to succeed without direct sunlight. In winter, it is possible to succeed on a clear day, but the ignition time will be longer. - Which fuels are not recommended?
Avoid wet, treated, or varnished materials. Plastics, with their polluting combustion, should also be avoided. - Is a magnifying glass dangerous indoors?
Yes: even placed on a windowsill, it can accidentally focus light and start a fire. Always store it in the shade or in a box. - How to explain the phenomenon to children?
It is the concentration of sunlight thanks to the curved shape of the lens. The rays accumulate at the focal point, where the temperature rises enough to allow a material to combust. - Can the experiment be repeated with a reading magnifying glass?
Yes, as long as the magnifying glass is convergent and of sufficient size. Flat or magnifying models without a converging effect will not work.
📜 Conclusion and possible further explorations
Starting a fire with a magnifying glass combines safety, science, patience, and wonder. From discovering refraction to responsibly managing a heat source, this experience retains its magic, while offering a rich and motivating field of study. It introduces the physics of lenses, the chemistry of combustion, and environmental responsibility.
To extend the adventure, experiment with different lens sizes, various combustible materials, or compare the intensity of the focal point according to the seasons and the sun's height. Why not take on the challenge of igniting tougher materials, or creating a mini solar installation to heat water?
Whatever the variation, remember that scientific curiosity is nurtured by experimentation, always coupled with vigilance so that the joy of discovery remains intact.
📚 Additional resources
To broaden your understanding of the subject or prepare your own scientific workshops, here are some suggestions:
- Optics textbooks for middle and high school (e.g., La lumière et ses mystères, éd. Belin).
- Websites of science popularization associations (Cité des Sciences, Futura Sciences).
- Educational videos on YouTube,