📌 Introduction to DIY Magnifying Glass Manufacturing
Making a DIY magnifying glass is a fun, educational, and enriching activity to do alone, in a group, or with family. This approach not only allows you to practically understand the fundamental principles of optics but also to explore different scientific and artistic uses. Throughout this article, you will discover how to create a simple and effective DIY magnifying glass, step by step, using accessible materials, while developing your curiosity and technical skills.
At the heart of every magnifying glass is a simple principle: the ability to clearly magnify the image of an object placed at an adequate distance. But beyond this scientific aspect, making your own magnifying glass proves to be an excellent gateway to exploring the world of science and creative hobbies.
🔍 What is a Magnifying Glass and How Does It Work?
Basic Optical Principles
A magnifying glass is a converging lens, most often made of glass or plastic. Its principle is based on the refraction of light: as light passes through the lens, it changes its trajectory to focus light rays and thus produce a magnified image. More precisely, a magnifying glass has an optical power measured in diopters, determining the possible magnification level. The key point is the focal length, which depends on the radius of curvature and the material used.
- Converging lens: Convex shape, which concentrates light rays at a focal point
- Refraction: Deviation of light through different media (air, glass, plastic)
- Magnified image: The object must be placed close to the lens, at a distance less than the focal length
Common Uses of Magnifying Glasses
Magnifying glasses are widely used in various sectors:
- Observation of details (insects, plants, minerals, fabrics)
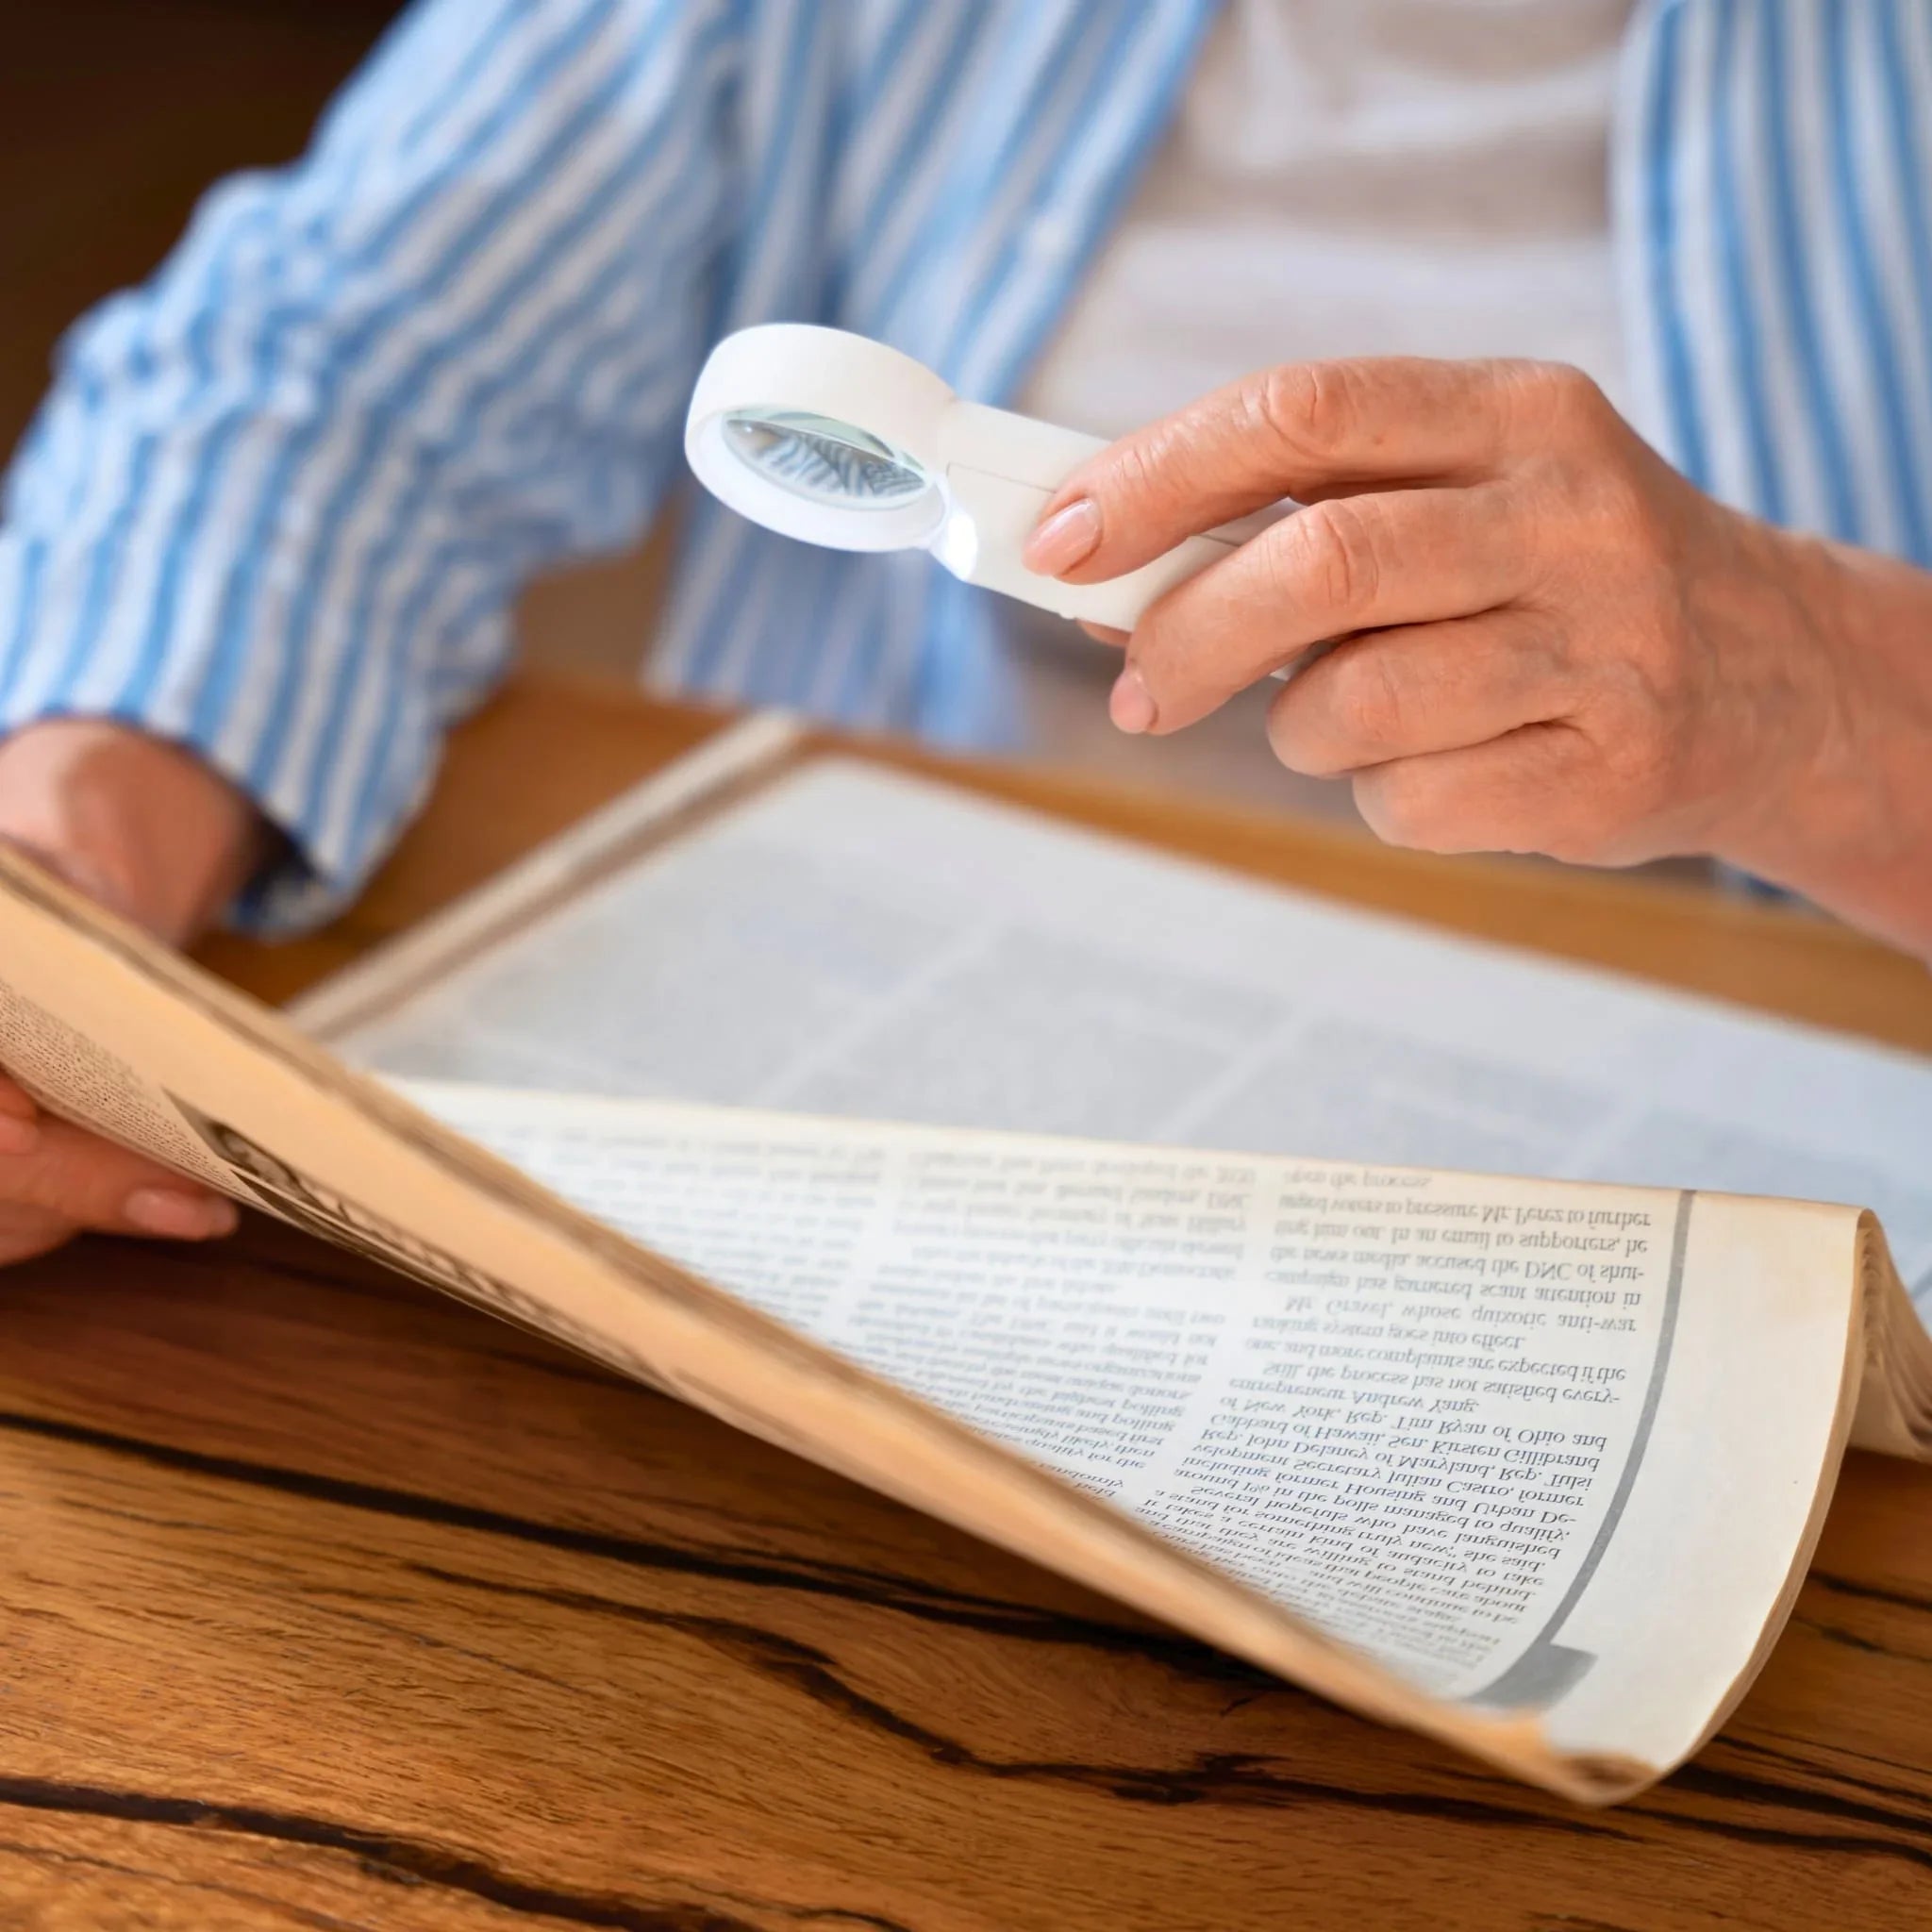
- Reading small characters or old documents
- Assistance in handling electronic components
- Support for scientific education — school experiments, science workshops
- Artistic use — examining textures, working with light
These multiple applications make the magnifying glass a versatile and indispensable tool, suitable for all ages and contexts.
🏠 Why Make Your Own Magnifying Glass?
Economic Advantages
Creating a DIY magnifying glass can save significant money, especially when you want to equip a classroom, a group, or your own family. The necessary materials (plastic, recycled glass, bottles, packaging, etc.) are easy to find at home or in stores at low prices. Moreover, it avoids the purchase of specific equipment when a one-time need arises.
- Use of recycled materials (bottles, old glasses, etc.)
- Limited expenses for essential tools
- Option for progressive improvements without additional costs
Educational Activities for All Ages
Designing a DIY magnifying glass goes far beyond the economic dimension. This activity is a tremendous educational opportunity. It encourages experimental approach, creativity, and intergenerational collaboration:
- For children: discovery of the microscopic world, first notions of optics
- For teenagers: scientific deepening, experimental projects
- For adults: DIY, support for hobbies or maintenance, sharing knowledge
Making a DIY magnifying glass is an opportunity to learn by doing, to stimulate curiosity, and to approach science in an uninhibited and practical way.
📌 Materials and Tools Needed to Create a DIY Magnifying Glass
🔧 Essential Basic Materials
Glass, Plastic, and Other Materials
The choice of materials is crucial for the success of your DIY magnifying glass. Several options are available, depending on the desired magnification level, expected sturdiness, and ease of handling.
| Type | Advantages | Disadvantages |
|---|---|---|
| Recycled glass (lenses, old glasses) | Excellent refractive index, durability | Fragility, difficult cutting, risk of injury |
| Transparent plastic (water bottle, vials) | Lightweight, easy to work with, safety | Less optically powerful, possible scratches |
| Resin or polymer gels (children's kits) | Flexible, customizable, easy to mold | Potentially higher costs, variable lifespan |
| Water droplet (for ephemeral magnifying glass) | Quick experiment, fun concept | Very temporary use, instability |
Consider reusing lenses from defunct devices or trying new materials to enrich your experience!
Light Sources and Supports
To use the magnifying glass effectively, it is important to consider light management. Various elements can accompany your creation:
- Compact or adjustable LED lamps: a white and cool light source improves rendering
- Foldable or mobile supports: small base made of cardboard, wood, or metal clamps
- Elastic bands, glue, adhesive tape: to secure the lens or stabilize the structure
- Old toothbrush handle, wooden stick: serves as an ergonomic handle
Attention to light and the magnifying glass's hold largely determines its daily effectiveness.
🛠️ Recommended Tools
Cutting and Shaping Tools
Different tools may be needed depending on the chosen materials:
- Utility knife or scissors for cutting plastic
- Small saw if wood or thick materials are present
- Fine file for deburring glass or plastic
- Sandpaper for smoothing edges
- Pliers for bending or shaping certain supports
Careful preparation of tools ensures safety, efficiency, and finish.
Safety Equipment
Even for a simple activity like making a DIY magnifying glass, it is essential to take precautions:
- Appropriate safety glasses
- Cut-resistant gloves (especially for glass)
- Cutting boards or mats
- Protective clothing, especially during sanding steps
Supervise children or adolescents closely when using sharp or abrasive tools.
📌 Steps to Make a Simple Magnifying Glass
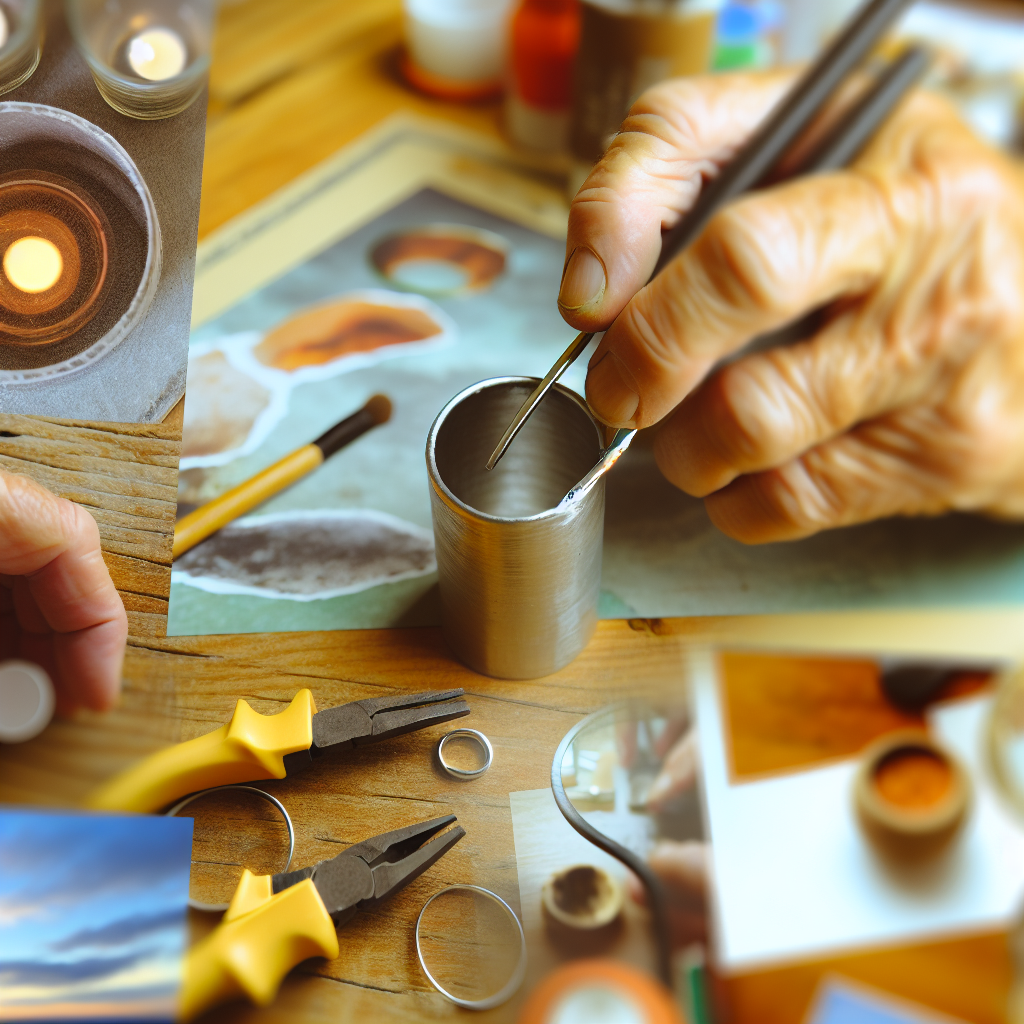
📝 Material Preparation
Choice and Cleaning of Components
Start by choosing your main materials: a clean plastic bottle, a broken old magnifying glass, or a lens recovered from unused glasses. Above all, ensure transparency, absence of deep scratches, and cleanliness of the surface.
- Wash plastic or glass thoroughly with warm soapy water
- Wipe with a soft, lint-free cloth
- Examine against the light: the surface should be free of marks or deposits
- If necessary, lightly polish with a chamois cloth or microfiber cloth
For a DIY magnifying glass to be functional, it must have a perfectly transparent and uniform surface. Careful preparation makes all the difference during use!
🔧 Lens Assembly
Shaping Glass or Plastic
Several techniques exist for making the lens:
- Plastic magnifying glass: Cut a circle from a smooth plastic bottle, then gently heat with warm air (hair dryer). Curve the material to obtain a convex shape. Option: pour a clean water droplet in the center of the obtained shape to increase magnification.
- Water droplet magnifying glass: Place a water droplet on a stretched plastic film (like food wrap over a frame). Observe through the droplet, which acts as a converging lens.
- Magnifying glass from glasses: Recycle an old converging lens (hyperopic) by fixing it on a rigid support.
- Other materials: Poured resin, transparent polymer clay, or gels for molding a spherical shape.
Adjust the curvature: the more convex it is, the greater the magnification, but the shallower the depth of field. Test various templates to adapt the DIY magnifying glass to your specific needs.
🛠️ Magnifying Glass Frame Assembly
Creating a Sturdy Frame
The frame is essential for easy handling and ensuring the durability of your magnifying glass. Here's how to proceed:
- Draw a circle slightly larger than your lens on strong cardboard, thin wood, or hard plastic
- Cut a central opening slightly smaller than the lens
- Place your lens in the opening, secure it with strong glue, clear adhesive tape, or small metal clips
- Finally, add a handle or a rod for easy manipulation
Feel free to personalize the frame with paint, stickers, or by engraving a pattern. A well-designed frame facilitates prolonged observations and reduces hand fatigue.
🌟 Finishing Touches and Adjustments
Polishing and Edge Checks
After assembly, examine your DIY magnifying glass under strong light. The edges should not have sharp asperities or cracks:
- Carefully sand the edges of the lens and frame with a file or fine sandpaper
- Regularly dust the work area to prevent any residual scratches on the lens
- Test the lens's stability in the frame: there should be no play
- If necessary, add a layer of clear varnish to the frame to waterproof the structure and provide a better tactile feel
Thorough inspection of the finishes guarantees comfortable and safe use, even for repeated handling.
📌 Experiments and Activities with a DIY Magnifying Glass
🔬 Observe the Details of the Natural World
Explore Plants and Insects
Once your DIY magnifying glass is finished, a world of details opens up to you! Go discover the surrounding nature:
- Examine the veins of a leaf, the structure of petals, or the tiny hairs covering certain stems
- Compare the wings of a butterfly or the shell of a ladybug
- Observe the texture of wood, a pebble, or the geometry of salt crystals
Each observation can turn into a mini-experiment: note the differences between species, draw what you see, or take photos through the magnifying glass to enrich your scientific notebooks.
For the youngest, transforming a walk in the forest or garden into a quest for details invisible to the naked eye becomes a fascinating and educational adventure.
🔧 Challenges and Scientific Projects
Creation of Mini Scientific Projects
The DIY magnifying glass also serves as a basis for many scientific projects suitable for all ages:
- Compare the apparent size of text or an object at different focal lengths
- Measure the magnifying power using a millimeter ruler as a standard
- Build a mini photo-tester (photos or drawings through the magnifying glass to understand macro photography)
- Explore the polarization or reflection of light through different surfaces and materials
- Introduce younger children to optics by conducting experiments on light focusing and decomposition
Take advantage of these projects to integrate the scientific method (hypothesis, manipulation, observation, conclusion) and enrich your methodological skills.
To find different models adapted to the age or specific use of children, some specialized stores also offer ready-to-use educational kits.
📌 Tips for Maximizing the Effectiveness of Your DIY Magnifying Glass
🌞 Optimize Lighting
Using Natural and Artificial Light
The quality of lighting directly affects ease of use and the ability to observe details. Here are some tips for making the most of light:
- Position yourself facing a window to benefit from homogeneous and diffused light
- Use a white LED lamp to dissipate shadows and improve contrast
- Avoid overly yellow or orange lights, which are less suitable for scientific observation
- For high work surfaces, opt for an adjustable clamp lamp fixed to your table
Test different angles of incidence: grazing light reveals textures while diffuse light highlights the transparency of samples.
📏 Optical Adjustments
Precise Attachment and Focusing
To get the best possible experience with your DIY magnifying glass, some adjustments are essential:
- Stabilize the magnifying glass: hold it steadily or place it on a support to avoid blurring
- Adjust the magnifying glass-object distance: the clear point is usually only a few centimeters away
- Use a neutral, matte background (white, light gray) to avoid parasitic reflections
- If the depth of field seems shallow, move the magnifying glass back slightly while keeping the object close to the focal point
- Add a mark on the frame to easily find the optimal focusing position
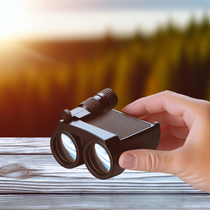
To deepen the comparison with other types of magnifying glasses and make an informed choice, the following article explains the differences between electronic and classic models: Read the comparison of electronic and classic magnifying glasses.
📌 Protect and Maintain Your DIY Magnifying Glass
🧼 Cleaning Tips
Recommended Cleaning Products
A DIY magnifying glass, like any optical instrument, requires regular maintenance:
- Clean the lens using a solution specially designed for glasses or a mild mixture of distilled water and isopropyl alcohol
- Use a clean microfiber cloth to avoid smudges and scratches
- For plastic parts, prefer a damp cloth or an antistatic wipe
- Absolutely avoid abrasive products or dry wipes that scratch transparent surfaces
Clean your tools and frame after each use to ensure the transparency and longevity of your DIY magnifying glass.
🔄 Repairs and Improvements
Modification and Reinforcement of the Frame
Over time, it is possible for some elements of your DIY magnifying glass to wear out or weaken:
- Reapply a spot of glue on parts that become loose
- If the frame breaks, locally replace the damaged piece with a stronger support (reinforced cardboard, small plastic plates, etc.)
- Add non-slip tape to the handle to secure the grip
- Consider installing a mini hanging loop or a protective storage case to prevent drops and scratches when not in use
These small touches extend the life of the magnifying glass and adapt it to the needs of the whole family.
📌 Frequently Asked Questions (FAQ) about DIY Magnifying Glass
🧐 How does the principle of a DIY magnifying glass work?
A DIY magnifying glass relies on the principle of light refraction by a transparent convex surface, focusing light rays to form a magnified and clear image of a nearby object.
👶 Can a DIY magnifying glass be safely made with children?
Yes, provided that plastic or resin is preferred, sharp tools are avoided, and adult supervision is ensured during steps that may present a risk.
🌿 What recycled objects are most suitable?
Transparent plastic bottles, the bottoms of vials, or old convex lenses are excellent, easy-to-work-with options for making an effective homemade magnifying glass.
💧 Can a drop of water actually magnify?
Absolutely! A simple drop of clean water placed on a plastic film creates a natural spherical lens, which concentrates light and significantly magnifies objects when observed closely.
🔬 Can microscopic details be observed with a homemade magnifying glass?
A homemade magnifying glass allows for the observation of millimeter to sub-millimeter size details. For truly microscopic observations (cells, bacteria), a microscope would still be required.
🏠 How long does it take to make a homemade magnifying glass?
Depending on the chosen technique (water drop, plastic, glass), manufacturing takes from 15 minutes (water drop technique) to approximately 2 hours, including shaping, frame assembly, and finishing.
📌 Conclusion: The Advantages of Homemade Magnifying Glasses for Education and Recreation
📚 Deepen Your Scientific Knowledge
Making a homemade magnifying glass is initiating an accessible scientific process where curiosity, creativity, and precise observation come together. This adventure offers everyone the opportunity to explore the world in their own way, develop technical skills, and transform everyday objects into powerful educational tools.
The creation of your own magnifying glass fully contributes to active learning, the development of critical thinking, and the awakening of scientific passions in both children and adults.
🔗 Resources and Community to Enhance Your Practice
Whether your homemade magnifying glass is the starting point for a school project, a family discovery, or a creative hobby, it is part of an open and sharing approach. Join online communities, participate in workshops, share your tips, and evolve your magnifying glass thanks to the advice of enthusiasts.
If you want to go further, explore different variations, compare your creations with professional models, and continue the scientific adventure with other observation tools. The possibilities are endless, and each experience is unique!