
📌 Introduction to Making Giant Magnifying Glasses
🔍 Understanding the Concept of a Giant Magnifying Glass
Making a giant magnifying glass is a captivating idea, fascinating both science enthusiasts and DIY lovers. It sparks curiosity: is it really possible to design such a large observational instrument at home? Beyond simple amplification, these magnifiers offer new perspectives for viewing the minuscule on a large scale. This adventure combines creativity, scientific rigor, and artisanal ingenuity. In this guide, we will cover the theoretical and practical basics of making a giant magnifying glass, its applications, its limitations, and also the precautions to follow for a successful and safe experience.
Making an oversized magnifying glass doesn't just mean enlarging a classic one: it's about adapting the principle of optics to meet specific requirements. The project challenges our understanding of light, optical materials, and manual craftsmanship. But before diving into the workshop, let's start by understanding what a giant magnifying glass truly is, how it works, and why its creation is as much a scientific challenge as it is an instructive hobby.
📌 The Basic Principles of a Magnifying Glass
🌟 How a Magnifying Glass Traditionally Works
At the origin of every magnifying glass, small or immense, lies a fundamental physical principle: the refraction of light. A traditional magnifying glass consists of a convex lens – a shape that is thicker in the center and thinner at the edges – which has the ability to converge light rays. Placed at an appropriate distance from the observed object, it magnifies the image perceived by the eye. The magnification depends on the curvature and diameter of the lens, defining its optical power. The objective is to obtain a virtual, enlarged, and sharp image, located on the same side as the observer's eye.
The simplicity of the traditional magnifying glass hides a very precise application of the laws of optics. The more pronounced the central curvature of the lens (and the shorter its focal length), the higher the magnification obtained. However, if the lens is too thick, it causes optical aberrations, such as blur, color distortion, or image deformation. These parameters are even more crucial when making a giant magnifying glass, as design errors quickly become proportional to the size of the instrument.
🔬 The Physics Behind Refraction
The making of a giant magnifying glass relies on a fascinating physical phenomenon: refraction. Light, when it crosses the boundary between two media with different optical indices (for example, air and glass or transparent plastic), changes direction. This change in trajectory is governed by Snell's Law, which defines the angle of refraction according to the nature of the materials. It is the convex shape of the lens which, by combining refraction on its two faces, manages to converge light rays towards a particular focal point.
To achieve optimal magnification, the optician must adjust the focal length: the distance between the optical center of the lens and its focal point. The shorter this distance, the more the magnifying glass magnifies the image. However, this property must be adapted to the size of a giant magnifying glass, otherwise the instrument will be unusable. A better understanding of the relationship between the radius of curvature, the nature of the material, and the target magnification is therefore essential before embarking on manufacturing.
📌 Exploring the Necessary Materials
🧰 Standard Materials Used for Lenses
The quality of a magnifying glass, especially a giant one, largely depends on the choice of material. Traditionally, two main categories are used:
- Optical glass: excellent clarity, scratch-resistant, and durable, it is nevertheless heavy and difficult to shape in large formats.
- Polymers (specialized transparent plastics): such as polycarbonate or acrylic (PMMA), they offer very good transparency, reduced weight, good shock resistance, and are easier to mold in large sizes. Many modern models use these materials, particularly for large reading magnifiers and magnifying panels.
In addition to transparency, the purity of the material prevents impurities that could alter the image or create chromatic aberrations.
| Material | Transparency | Weight | Advantages | Disadvantages |
|---|---|---|---|---|
| Glass | Excellent | High | Durable, scratch-resistant | Heavy, difficult to mold in large size |
| Polymer (PMMA, polycarbonate) | Very good | Light | Light, easy to form, economical | Less scratch-resistant, can yellow |
💡 Creative Alternatives to Traditional Materials
For DIY enthusiasts or eco-responsible creators, it is possible to substitute classic materials with other more accessible or recycled solutions:
- Recycled Plexiglas: cut to shape, it offers an economical and ecological solution, especially when old PMMA panes are recovered.
- Transparent resins: poured into appropriate molds, they allow custom lenses to be shaped but require great care during polishing.
- Plastic bottles: some school experiments show that bottle bottoms can be reshaped to obtain a rudimentary magnification.
- Transparent gel or water: unusual alternatives, such as filling a soft plastic pouch with water or gel, can temporarily act as a converging lens.
If you are intrigued by the diversity of existing formats, do not hesitate to consult our magnifying glass collection to explore different models and materials used in the professional market.
📌 Steps to Make a Giant Magnifying Glass
🛠️ Step 1: Design and Calculations
The first step in making a giant magnifying glass is to formulate a detailed plan:
- Determine the final size: the wider the lens, the larger the image, but the greater the risk of optical aberrations.
- Calculate the ideal curvature: this involves defining the appropriate radius of curvature to obtain the desired magnification (thin lens formula).
- Evaluate the necessary focal length: a compromise must be made between magnification (short focal length) and ease of use (longer focal length).
- Prepare a diagram or workshop plan: identify the tools and steps for shaping the lens and the supporting structure.
It is advisable to use optical simulation software or, more simply, online optical calculators to validate your parameters before starting machining.
🧮 Step 2: Preparing the Materials
Careful preparation of materials is key to success:
- Cutting: If you are using glass or plastic, cut the initial rough lens according to your diagram. For large sizes, prefer a perfect circular cut to avoid deformations.
- Molding: If you opt for cast resin or acrylic, prepare a robust, perfectly smooth, and clean mold. A poorly prepared mold will lead to optical defects.
- Cleaning: Any impurity (dust, greasy fingers) risks disturbing the formation of the lens and must be removed at each step.
For plastic materials, also plan for anti-scratch treatments and, if necessary, UV protection to prevent premature yellowing during outdoor use.
⚙️ Step 3: Lens Construction
The construction of the lens is the core of the project:
- Molding or mechanical shaping: Depending on the material, use either vacuum molding or turning-polishing to give the lens its precise convex shape.
- Polishing: A giant lens requires a very smooth surface to transmit light without diffusing or creating scratches. Use progressively finer abrasives, then polish with a special lens paste (e.g., based on cerium oxide).
- Quality controls: Check for the absence of bubbles, scratches, or impurities and perform a magnification test on a printed sheet. Correct any anomalies before moving on to the next step.
Tip: If you are a beginner, start with a small test lens to familiarize yourself with material processing and optical polishing.
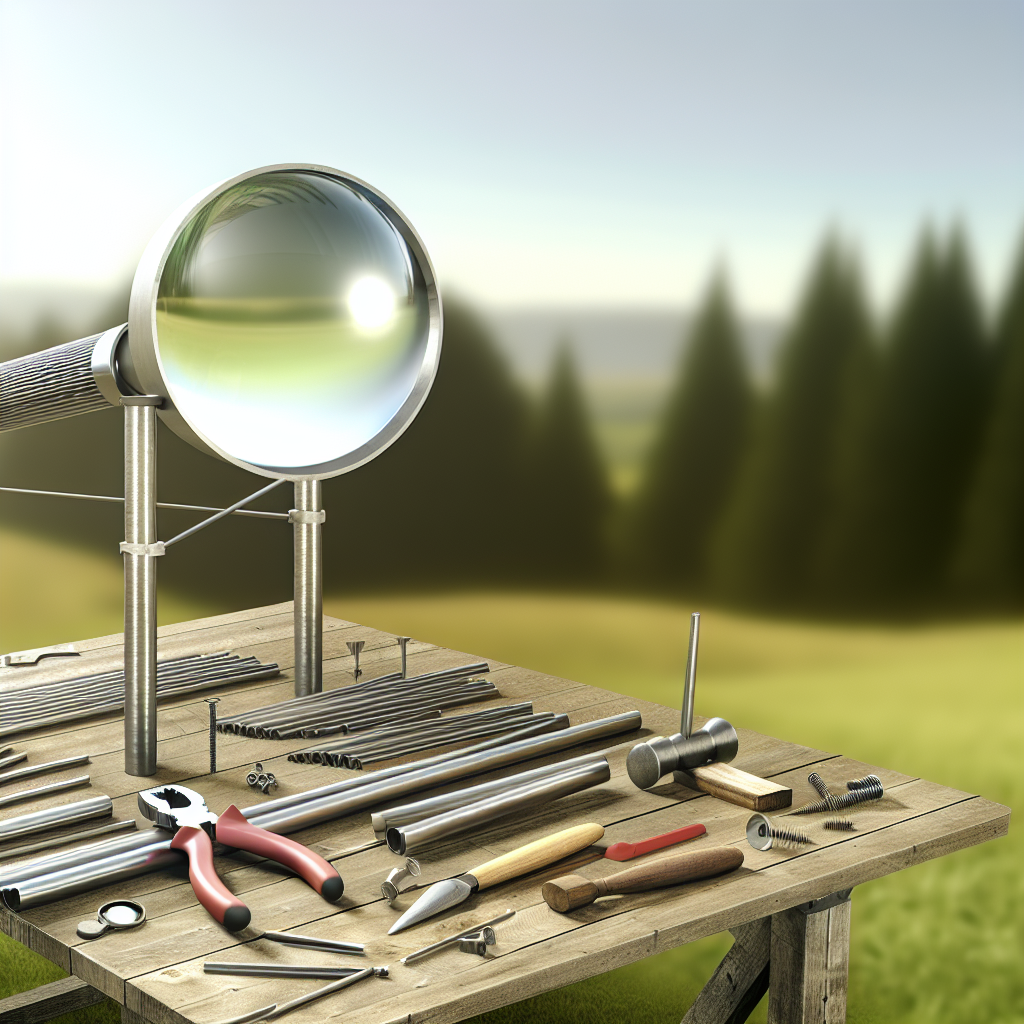
🧩 Step 4: Assembling the Structure
The structure supporting the lens must be stable, solid, and secure:
- Use a rigid frame (wood, metal, or thick plastic) capable of supporting the lens without tipping, even when tilted.
- Prepare an adjustable mounting system that allows you to adjust the height and inclination of the lens according to the size of the object to be observed.
- Provide a handle or carrying support, especially if the giant magnifying glass needs to be moved frequently.
- Reinforce the fastening with screws or specific optical adhesives to avoid any play during use.
Once assembled, perform a series of tests to check the stability and safety of the entire assembly before its first public or educational use. For additional advice on ergonomics and visual fatigue, consult our specialized article on using reading magnifiers.
📌 Safety and Precautions
🛡️ Safety Measures During Manufacturing
Making a giant magnifying glass involves handling heavy materials, sharp tools, and sometimes chemicals:
- Protect your hands with appropriate gloves (cut-resistant or heat-resistant depending on the step).
- Wear safety glasses when cutting, sanding, or mechanical polishing the lens.
- Ventilate your workspace when using resins or solvents to avoid inhaling harmful vapors.
- Handle glass with caution, especially for large formats, to avoid any risk of breakage or severe injury.
- Keep a clear and tidy space to avoid falls or collisions when handling long tools or bulky items.
Strict adherence to these recommendations will allow you to complete your manufacturing in complete serenity.
☀️ Precautions for Using Giant Magnifying Glasses
A giant magnifying glass, due to its size, behaves like a true solar energy concentrator – almost like a reduced version of a solar oven:
- Never point the magnifying glass directly at the sun outside of controlled experiments, as there is a real risk of fire or serious burns!
- Supervise any use by children and always prepare an explanatory notice to prevent inherent dangers.
- Store the magnifying glass in its holder away from direct sunlight when not in use.
- Avoid risk areas during public demonstrations, to prevent any accidents involving spectators or flammable objects.
With these good practices, you will enjoy your creation for a long time and in complete safety!
📌 Applications and Uses of Giant Magnifying Glasses
🔭 Scientific and Educational Uses
Once made, a giant magnifying glass opens up a world of educational and scientific applications:
- Observation of natural specimens: insects, leaves, plant tissues, minerals... so many subjects to detail in front of a class or in a participatory scientific workshop.
- Experiments on optical power: spectacularly illustrate the formation of magnified images, show light focusing, study dispersion phenomena.
- Defect detection: in quality control workshops, the instrument allows examination of large surfaces for imperfections.
- Collective sharing magnifiers: unlike a classic magnifying glass, the giant version allows an entire group to observe a detail at the same time, for example by integrating it into interactive museum exhibits.
Its potential as a tool to awaken curiosity remains immense, and its manufacture often leads to beautiful discoveries about natural laws.
🎨 Artistic and Design Inspirations
Beyond science, the giant magnifying glass is increasingly establishing itself as an artistic or design object:
- Light installations: by playing with the focusing of natural or artificial light, it creates spectacular effects in exhibitions, galleries, or light festivals.
- Decorative objects: some designers repurpose magnifiers (flat or convex) to enlarge texts, images, or pictorial works.
- Visual effects: optical sculptures, play of shadow and light, distortion effects through the lens... the applications are almost limitless.
- Creative photography: using a giant magnifying glass to generate spectacular magnification effects or novel perspectives on reality.
Artists and creators appreciate this new dimension offered by optics, both for its formal beauty and for the symbolism of reality amplification.
📌 FAQ: Your Frequently Asked Questions About Making and Using Giant Magnifying Glasses
- What are the advantages of a giant magnifying glass over a classic magnifying glass?
A giant magnifying glass allows for larger surface areas to be magnified and facilitates collective observation. It is ideal for school workshops, museums, or artistic applications.
- Can I use a bottle bottom as a giant magnifying glass lens?
Yes, for small, fun experiments with low magnification, it works. However, the optical quality and transparency will not be sufficient for precise observations.
- What is the main risk with a giant magnifying glass exposed to light?
The main danger is the concentration of solar rays which can cause burns or fires. Always take care never to expose the lens to the sun without supervision.
- What thickness or curvature should I choose for my lens?
The curvature depends on the chosen material and the desired magnification. Use the thin lens formula to determine the necessary radius of curvature based on the target focal length.
- Is it possible to make a giant magnifying glass solely with recycled materials?
Yes, but the result will depend heavily on the quality of the recycled materials. Plexiglas or certain transparent plastics can be suitable provided they are sufficiently pure and unscratched.
- How can I avoid image distortion on a homemade giant magnifying glass?
The quality of the polishing and the precision of the curvature are essential. Any irregularity on the surface will cause distortions. It is better to invest time in this key step.
📌 Conclusion and Final Thoughts
Making a giant magnifying glass is a rewarding project, at the crossroads of science, DIY, and creativity. Although it requires a good understanding of optics and a certain manual skill, it remains accessible thanks to modern materials and online documentation. Whether for teaching, scientific experimentation, or artistic creation, the giant magnifying glass symbolizes the amplification of our perception of the world. Take the time to properly design each step, to observe safety precautions, and, above all, to have fun in this unique challenge. Creating such an instrument also means better understanding the beauty of nature's laws and the creative potential of light.
📚 Additional Resources
- Books: "Light and Optics - Practical Introduction" (Collège Sciences edition), "The Big Book of Scientific DIY" (Youth & Sciences edition).
- Online tutorials: specialized YouTube channels such as "Sciences à la maison" or "Bricoloscope".
- Courses: Platforms like Fun-MOOC, Khan Academy for the basics of optics and lens manipulation.
- Online forums and communities: to share your progress, ask questions about manufacturing, or find custom diagrams.